
Safari Photography Tips for Non-Professionals
July 20, 2026
Safari Photography Tips for Non-Professionals
You don't need professional gear to come home with genuinely great safari photos, but a handful of habits separate the guests who do from the ones who spend a week frustrated with their camera. None of this requires expensive equipment.
The Camera You Already Have Is Probably Fine
A modern smartphone handles close-range sightings and landscape shots well, and if you're bringing a dedicated camera, a mid-range mirrorless or DSLR with a zoom lens covering at least 200 to 300mm equivalent will handle the vast majority of wildlife distances you'll actually encounter. Chasing the absolute best gear matters far less than learning to use whatever you bring well.
Light Is Everything, and the Schedule Already Favors You
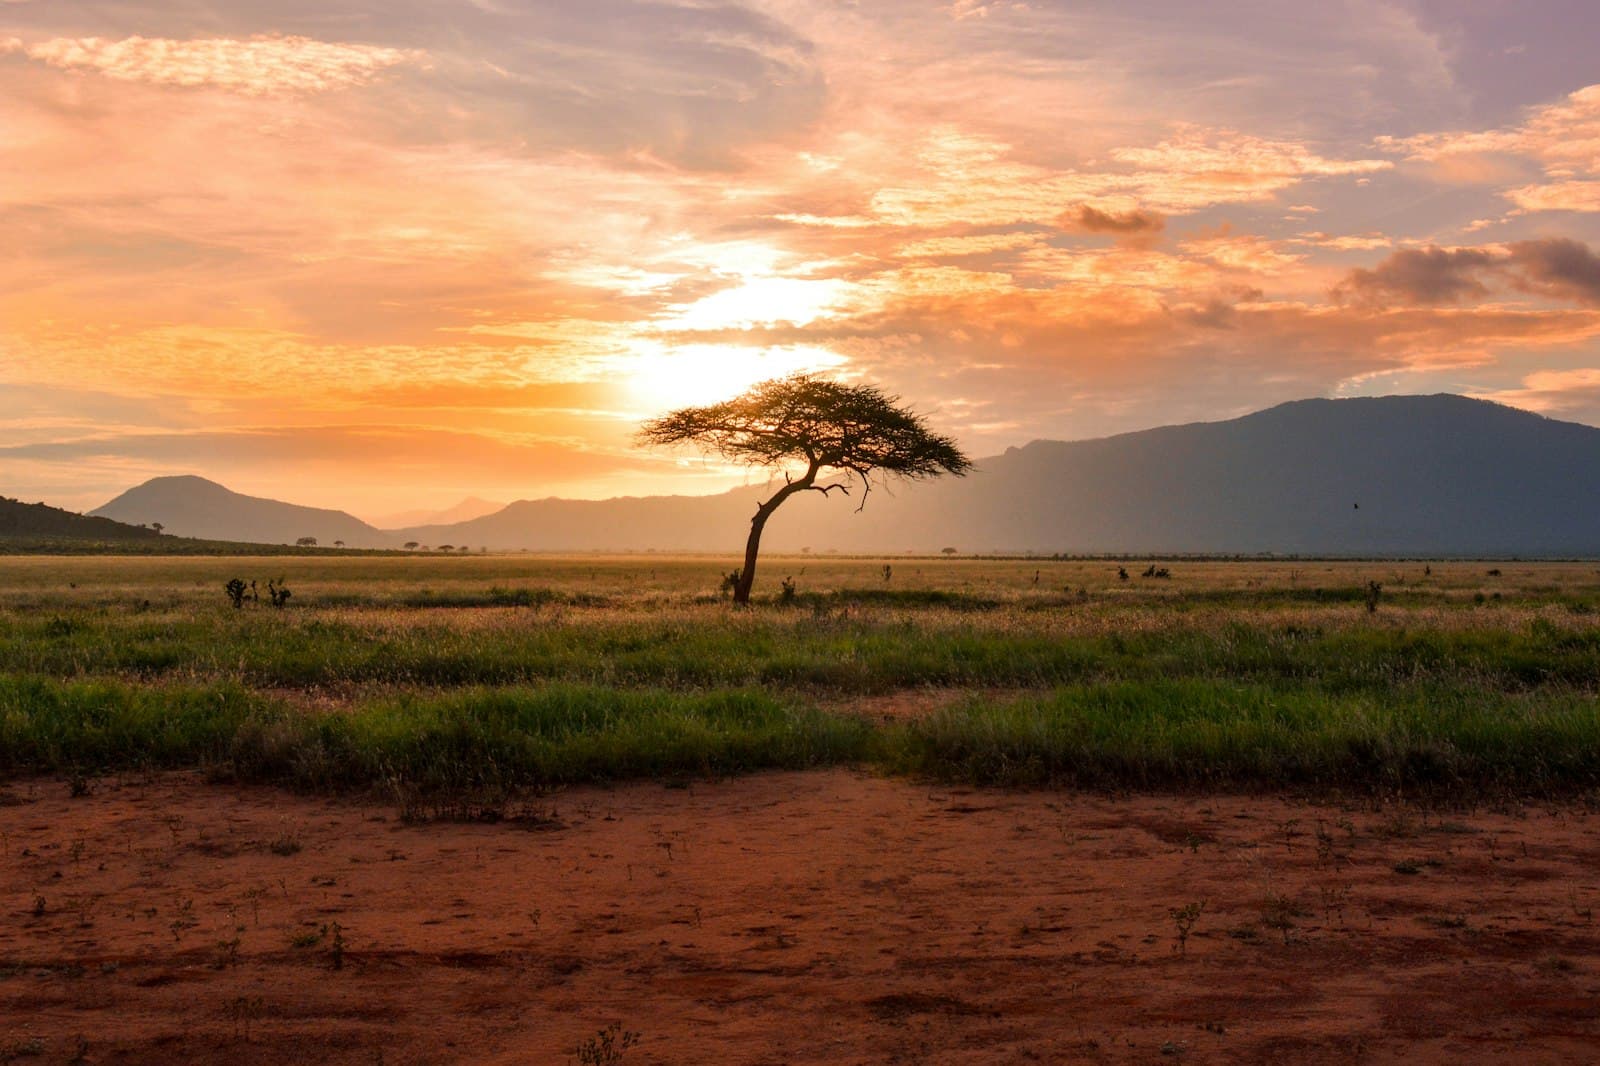
The golden hours right after sunrise and before sunset produce dramatically better light than the harsh midday sun, and safari schedules are already built around exactly those windows for wildlife-activity reasons, which works out well for photography too. Midday game drives, when they happen, are the time to focus on behavior and composition rather than fighting flat, overhead light.
Shoot From Vehicle Window Level, Not Standing

Shooting from a seated position at window height, rather than standing through the pop-up roof, generally produces a more natural, eye-level perspective with the animal rather than looking down at it. A simple beanbag resting on the window ledge stabilizes a camera far better than holding it freehand, especially with a longer zoom lens where small movements show up clearly in the shot.
Focus on the Eyes
For any wildlife shot, getting the eyes sharp matters more than almost anything else in the frame. Viewers connect with a photo through eye contact even in animal photography, and a shot with a slightly soft body but sharp eyes reads as more successful than the reverse. Most cameras and phones let you tap or select a focus point directly, worth using deliberately rather than trusting the default center-frame autofocus.
Don't Just Photograph the Full Animal
Some of the strongest wildlife photography guests come home with are close, tightly framed shots, a lion's face, an elephant's eye and wrinkled skin texture, a bird's detailed plumage, rather than a wide shot of the whole animal in the landscape. Mix both styles rather than defaulting to the same wide framing on every sighting.
Dust Is the Enemy of Your Gear, Not Just Your Shots
Changing lenses in an open vehicle on a dusty road is asking for sensor dust, so minimize lens changes where possible and keep a dry bag or protective sleeve for your camera between sightings. A simple lens cloth and a blower for dust removal are worth the small amount of extra bag space they take up.
Composition Basics That Actually Help
Leaving space in the frame for an animal to move into, rather than centering it tightly with its direction of travel cut off at the edge, generally produces a more comfortable, natural-feeling composition. Including a little environmental context, grass, a baobab, the edge of a waterhole, tells more of a story than an animal isolated against plain background, even when a tighter crop is technically sharper.
Photographing the Great Migration Specifically

River crossings move fast and unpredictably, so a faster shutter speed than you'd use for a resting animal, and continuous or burst shooting mode if your camera has it, meaningfully improves your odds of capturing the peak moment of a crossing rather than the beat before or after it. Positioning matters too, and this is one area where trusting your guide's placement pays off, since they've watched hundreds of crossings and read the herd's likely path better than a first-time visitor can.
Editing Doesn't Need to Be Complicated
A basic phone editing app or Lightroom Mobile covers nearly everything most guests need, modest exposure and contrast adjustment, and straightening a horizon, without needing professional editing software. Resist the urge toward heavy-handed filters or oversaturation. The strongest safari photos tend to look like an accurate, well-exposed version of what you actually saw, not a dramatically altered one.
What Guides Notice About Photography-Focused Guests
Guides consistently notice which guests communicate their photography priorities early in the trip, positioning preferences, how long they'd like to linger at a sighting, whether they want the vehicle angled for better light, versus guests who stay quiet and hope the guide happens to guess right. Speak up early and specifically. It genuinely changes how a guide positions the vehicle across the whole trip.
A Note on Photographing People and Camp Staff
The same courtesy that applies to a Maasai village visit applies to camp staff and guides too: ask before photographing someone directly, and most are happy to oblige once asked, especially guides who take genuine pride in the work. It's a small habit that consistently improves the warmth of the interactions behind your photos, not just the compliance of your subjects.
Backing Up Your Photos While You Travel
A multi-day safari can easily produce several thousand photos, and losing a phone or memory card partway through is a genuinely painful way to lose them. A portable SSD or a second memory card as backup, or simply uploading to cloud storage whenever camp Wi-Fi allows, is worth the small extra effort, particularly on longer itineraries where the cumulative loss would be significant.
Shooting Landscapes and Scenery, Not Just Wildlife
The baobab-dotted plains of Tarangire, the endless horizon of the Serengeti, and the crater walls of Ngorongoro are worth dedicated attention in their own right, not just as a backdrop for wildlife shots. A wider-angle lens or your phone's standard camera setting captures these scenes better than a long telephoto zoom built for distant animals, and it's worth deliberately switching gear or settings for these moments rather than defaulting to wildlife mode all day.
Working With, Not Against, Your Guide's Vehicle Positioning
Guides generally know instinctively where to position a vehicle for both wildlife safety and decent light, but they can't read your specific creative intent unless you tell them. A quick, polite request, could we approach from this side for better light, is normal and welcomed, not an imposition, and experienced guides consistently mention that photography-focused guests who communicate directly get noticeably better shots across a trip than those who don't.
Photographing at the Ngorongoro Crater and River Crossings Specifically
The crater's compact scale and elevated rim viewpoints offer genuinely different photographic opportunities than the Serengeti's open plains, wide establishing shots looking down into the caldera work well here in a way the flatter Serengeti terrain doesn't replicate. At river crossings, patience matters as much as technique, since the best moments often come after a long, quiet wait rather than the first approach, and guides who've watched enough crossings can often sense when a herd is about to commit.
A Realistic Expectation to Set Before You Go
Not every sighting produces a magazine-quality shot, and that's completely normal even for guests with good equipment and technique. The goal across a multi-day safari is a strong handful of genuinely great images alongside plenty of solid, memory-worthy ones, not a flawless shot from every single encounter.
None of this requires turning your safari into a professional photography expedition. A little intentionality about light, framing, and communicating with your guide goes further than any single piece of gear, and it's a skill that improves noticeably across even a single week in the field.
Frequently asked questions
Do I need a professional camera for safari photography?
No — a smartphone or a mid-range camera with a zoom lens covering at least 200 to 300mm handles the vast majority of safari photography situations well.
What's the best time of day for safari photos?
The golden hours right after sunrise and before sunset, which safari schedules are already built around for wildlife-activity reasons, giving photographers naturally good timing without extra planning.
How do I get sharp wildlife photos from a moving vehicle?
Rest your camera on a beanbag against the window ledge rather than shooting handheld, and shoot from a seated position at window height for a more natural, eye-level perspective.
How should I photograph a Great Migration river crossing?
Use a faster shutter speed and burst or continuous shooting mode if available, and trust your guide's vehicle positioning — they've watched far more crossings than a first-time visitor and read the herd's likely path well.
What's the best camera for safari, and do I need a specific lens recommendation?
The best camera for safari is whichever one you'll actually use comfortably — a smartphone works for most sightings. If you want a specific lens recommendation, a zoom covering at least 200 to 300mm equivalent handles the vast majority of wildlife distances.
Plan a trip inspired by this post
Chat with us on WhatsApp to build a safari around what you just read.
Plan my safari